


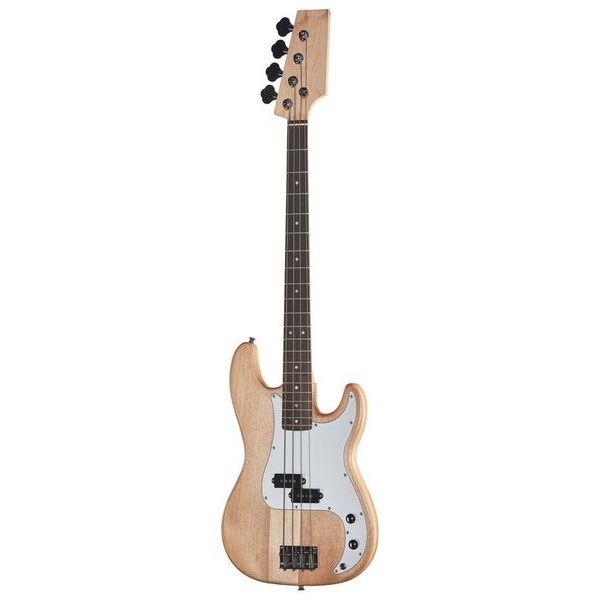
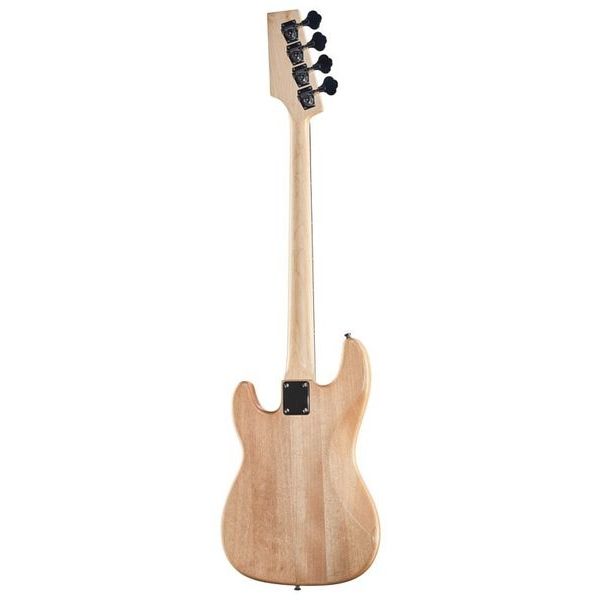


Electric Bass Kit P-Style
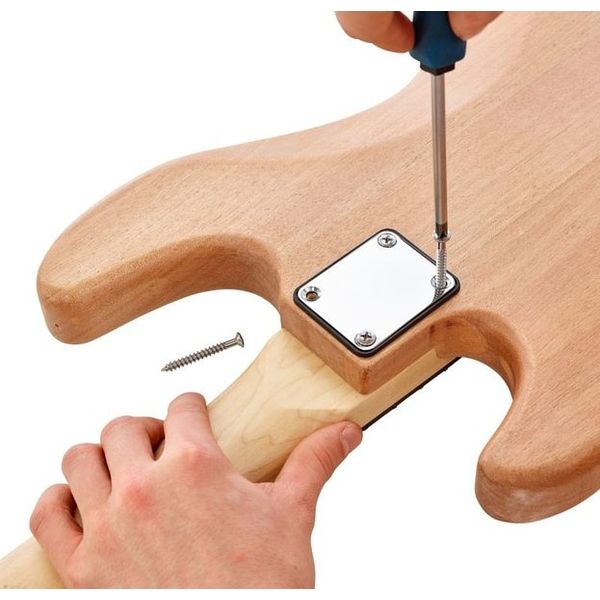
- Complete DIY (do it yourself) kit
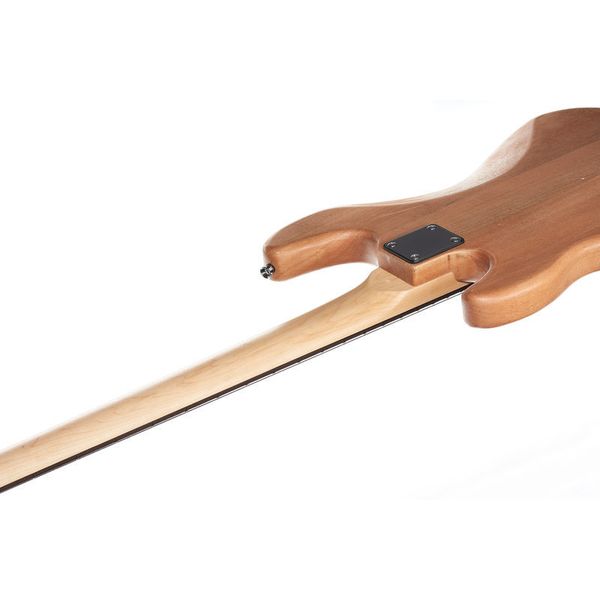
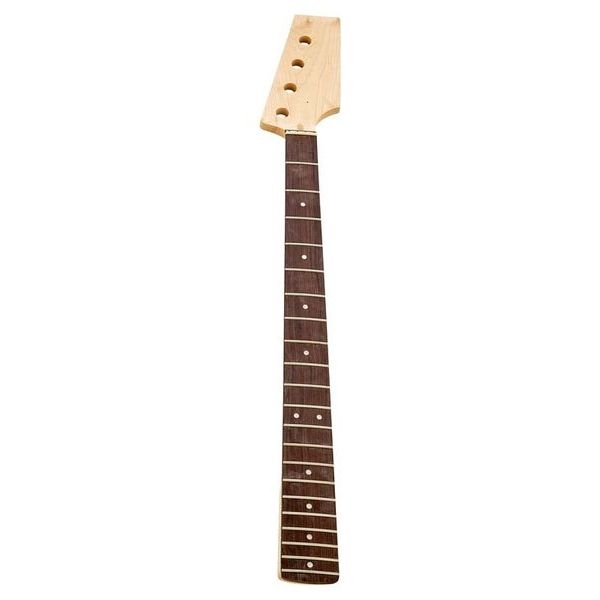
- Bolt-on maple neck
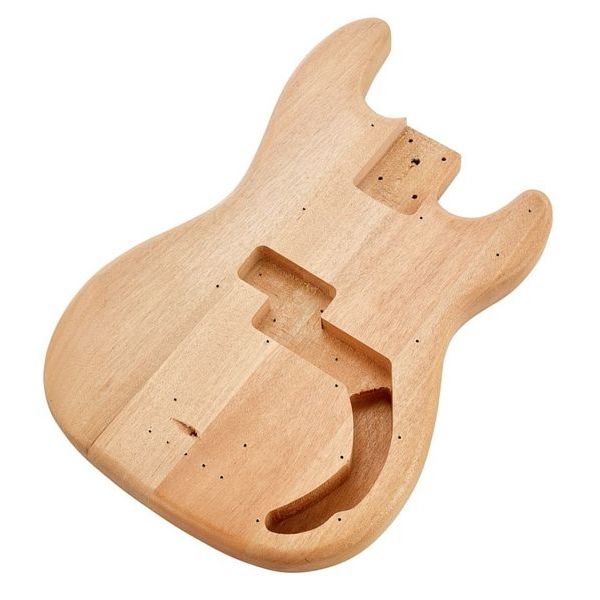
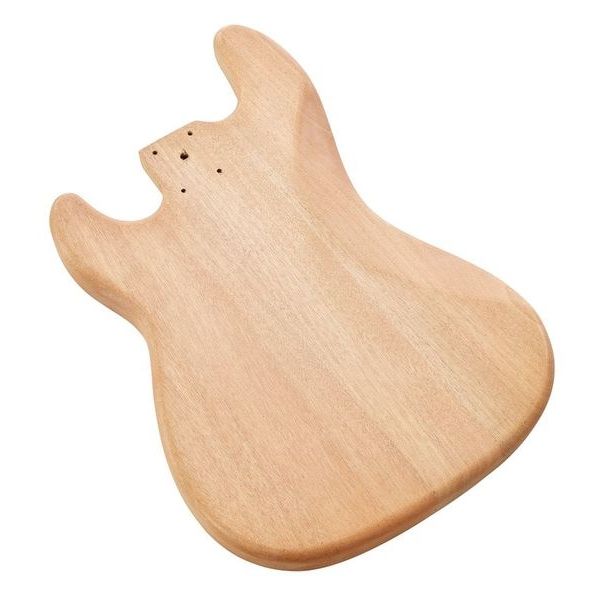
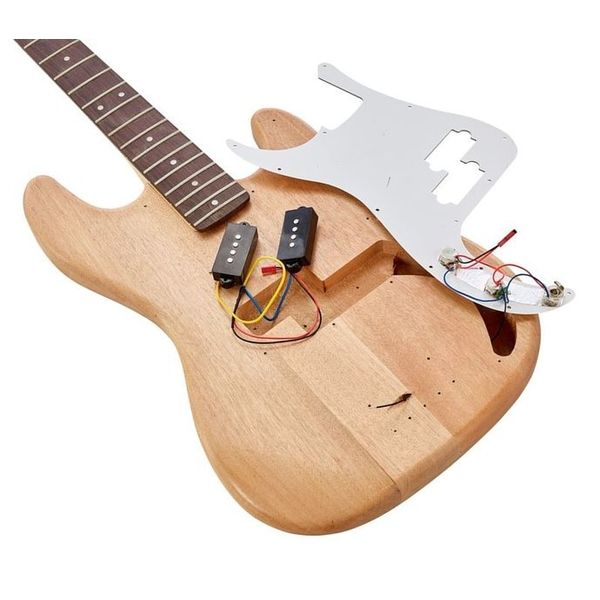
- Rengas body (wood colour may vary)
- Double action truss rod
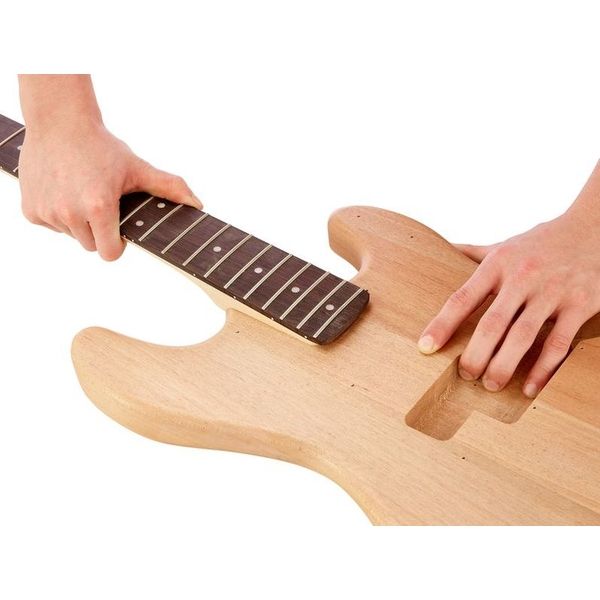
- Amaranth fretboard
- Dots fretboard inlays
- 21 Frets
- Scale: 864 mm
- Nut width: 42 mm
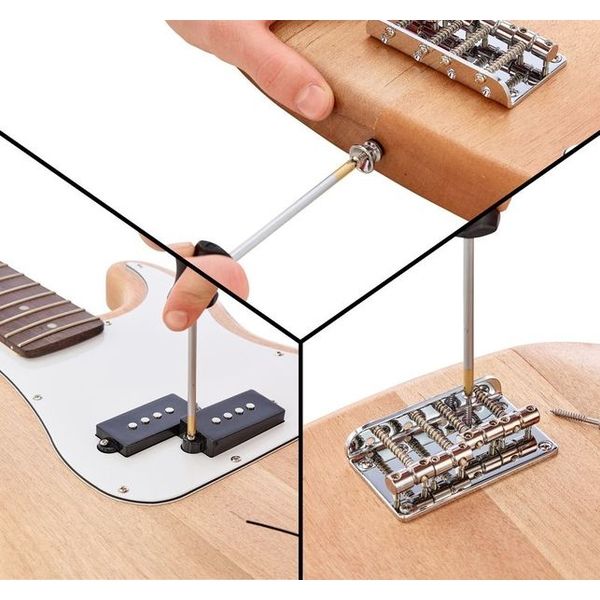
- Truss rod
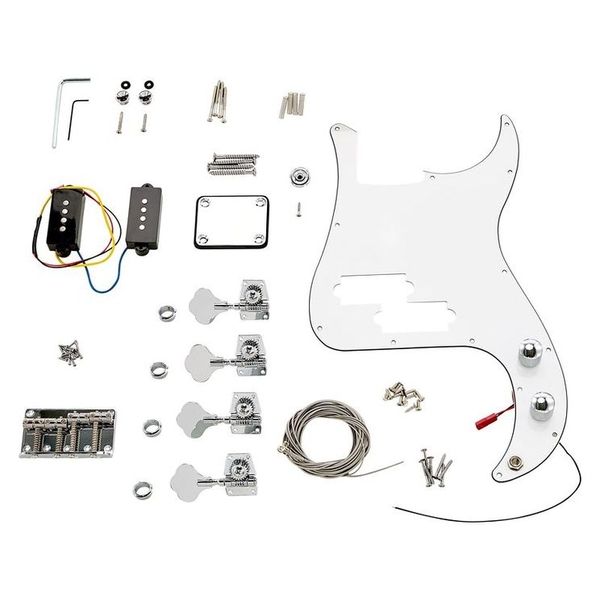
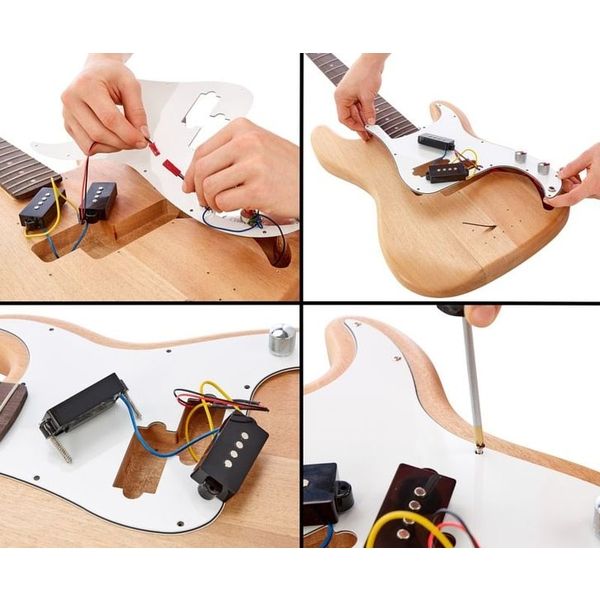
- 1 P-Style split coil pickup
- 1 Volume control and 1 tone control
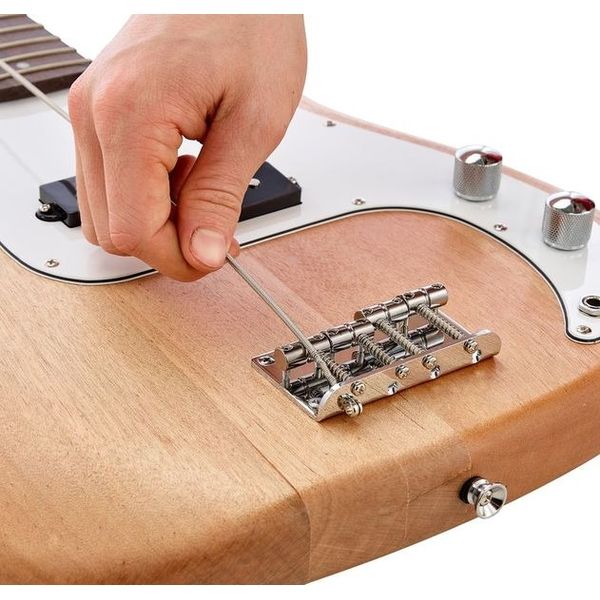
- Chrome hardware
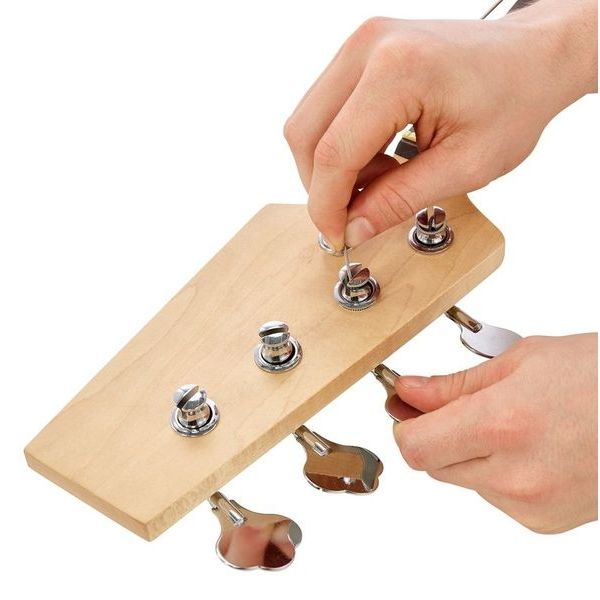
- Die-cast machine heads
- Strings: .045 - .105
- Colour: Natural
Note: Body and neck have been primed with pore filler, and are therefore suitable for direct painting - for staining or other forms of surface treatment, the primer may need to be sanded again
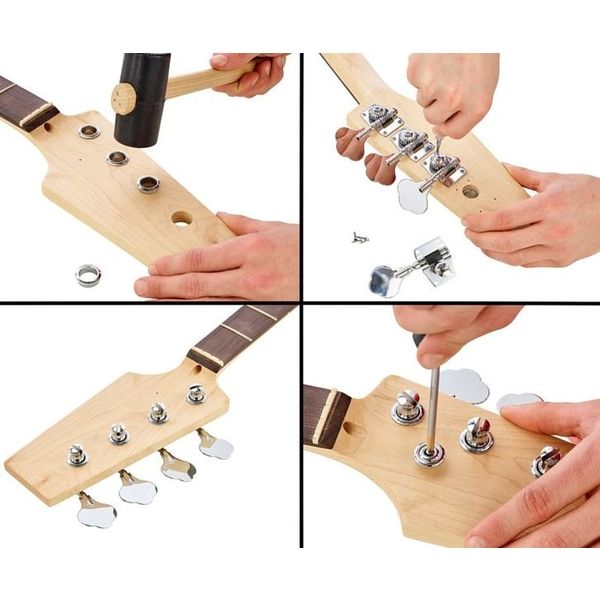
Note: A certain degree of craftsmanship is required for successful assembly.
disponibil din
Iunie 2006
numărul articolului
194896
unitate de vânzare
1 bucată(ăţi)
Colour
Natural
Soundboard
Solid Wood
Neck
Canadian Maple
Fretboard
Amaranth
Frets
21
Scale
Long Scale
Pickup System
P
Elektronic
Passive
Incl. Case
No
Incl. Gigbag
No
Pickups
P
Pachete & Oferte

Asta au cumpărat clienții care au văzut acest produs

Accesorii și articole compatibile

Compară opțiunile
-
Harley Benton Basuri-P 4-Corzi dintr-o ochire
-
Mergi la categoria de produse Basuri-P 4-Corzi
-
Mergi la categoria de produse Diverse Basuri cu 4-Corzi
-
Mergi la categoria de produse Basuri Electrice
-
Mergi la categoria de produse Chitare şi Basuri
-
Afişează detaliile producătorului pentru Harley Benton
-
Harley Benton Chitare şi Basuri dintr-o ochire


